Choosing the right roofing material for a DIY project can greatly impact the ease and efficiency of your work.
Asphalt shingles are often considered the easiest roofing material to install for DIY enthusiasts. They are affordable, widely available, and simpler to work with compared to other materials like metal or tile.
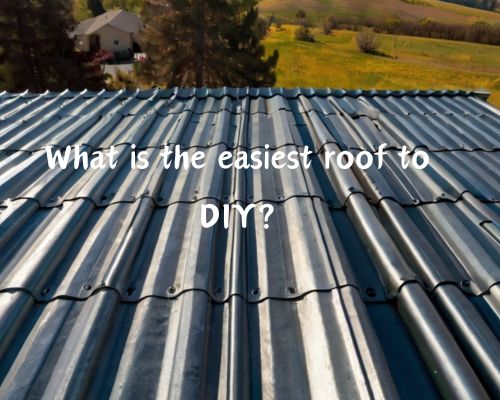
Metal roofing, while durable and stylish, involves more complicated installation techniques and higher material costs.
For instance, metal roofing prices range from $400 to $600 per square, significantly higher than asphalt shingles, which usually cost between $150 and $200 per square.
This makes asphalt shingles not only easier to handle but also more budget-friendly.
To get started, you’ll need basic tools like a hammer, utility knife, and roofing nails, along with protective gear.
Begin by preparing your roof deck and installing the underlayment, followed by laying the shingles in overlapping rows.
By choosing the right materials and following straightforward steps, you can achieve a professional-looking result without the need for expert intervention. See David Spade from Star Roofing Contractors for more.
Choosing the Right Materials for Your DIY Roofing
Selecting appropriate materials is critical for ensuring both the longevity and functionality of your roof. This section explores the differences between asphalt shingles and metal roofing and how your roof’s structure can impact material selection.
Comparing Asphalt Shingles and Metal Roofing
Asphalt shingles are popular due to their affordability and ease of installation. A square of basic three-tab asphalt shingles costs between $80 and $200. Architectural asphalt shingles, while more durable, range from $200 to $900 per square.
Asphalt shingles offer ease of installation and are suitable for most climates, making them an excellent choice for novice DIYers.
Metal roofing—including aluminum and steel panels—offers superior durability and longevity. Prices for metal roofing range from $400 to $600 per square.
Metal roofing is more expensive but highly resistant to extreme weather conditions and offers better fire resistance. It also has a long lifespan, reducing the need for frequent replacements.
Understanding Roof Structures and Materials
Your roof structure influences material choice. For example, asphalt shingles are lightweight and compatible with most roof structures, whereas tile and slate are significantly heavier and may require additional support.
This added weight might necessitate structural reinforcement, increasing both material and labor costs.
Climate also plays a crucial role. Asphalt shingles may perform poorly in extreme heat, leading to cracking or warping, whereas metal roofing excels in diverse weather conditions, from harsh winters to intense summer heat.
Local building codes may mandate specific materials based on flammability and ventilation requirements, additionally guiding your selection process.
Step-by-Step DIY Roof Installation
Installing your own roof can be a challenging yet rewarding project. Ensuring that you have the proper tools, materials, and safety precautions will set you up for success. Let us know these with David Spade from Star Roofing Contractors.
Preparing for Installation
Before you start, gather your tools and safety gear. Essential tools include a roofing hammer, utility knife, roofing nails, tape measure, and chalk line.
Safety gear like gloves, non-slip shoes, a safety harness, and goggles is crucial to prevent accidents.
Check if you need a building permit for the roof installation in your area. Planning your task layout, estimating the time and effort required, and ensuring all materials are available will streamline the installation process.
Laying the Foundation: Sheathing and Underlayment
Begin by laying down the plywood sheathing. Ensure the sheets are securely fastened and gap-free for a solid base.
Next, apply the roofing felt paper or a high-quality underlayment. Start from the eave and work your way up towards the ridge, maintaining at least a 2-inch overlap between layers.
Install the drip edge along the eave edges to direct water away from the fascia and prevent water damage. For colder climates, consider adding an ice barrier along the eaves for additional protection against water infiltration.
Applying the Roof Covering
Install starter shingles first to ensure a straight edge for the rest of your shingles. Lay out your asphalt shingles or metal roofing panels, starting from the bottom edge of the roof and working upwards.
Fasten each shingle or panel securely with roofing nails, making sure they overlap properly. Use your utility knife to trim shingles as needed.
This step takes the most time and effort, so work methodically to ensure a uniform and weather-tight coverage.
Final Touches: Flashing, Ridge Caps, and Ventilation
Finish by installing flashing around chimneys, vents, and valleys to prevent water from seeping in.
Secure it with the appropriate fasteners and roof sealant to ensure no gaps or leaks.
Next, install ridge caps along the roof’s peak, providing the final layer of protection.
Incorporate proper ventilation to allow air circulation, extending the longevity of your roof materials and maintaining indoor temperature.
Each step requires careful attention but ensures a durable and efficient roof once completed.